
Adobe After Effects is a powerful application that you can use for various purposes, including video editing, motion graphics, and compositing. While After Effects has become the industry standard for simple video animation, there is a learning curve for new users. These 10 steps will help you get started with the software and learn the basics.
Launch Adobe After Effects
The first step to using Adobe After Effects is to launch the software. To do this, open the Applications folder on your computer and locate the Adobe After Effects icon. Double-click on the icon to launch the application.
If you are using a Windows computer, you can also launch Adobe After Effects by clicking on the Start menu and selecting Programs > Adobe After Effects.
If you are using a Mac, you can open the Launchpad and search for After Effects. Click on the application to launch it.
Select a Project Template
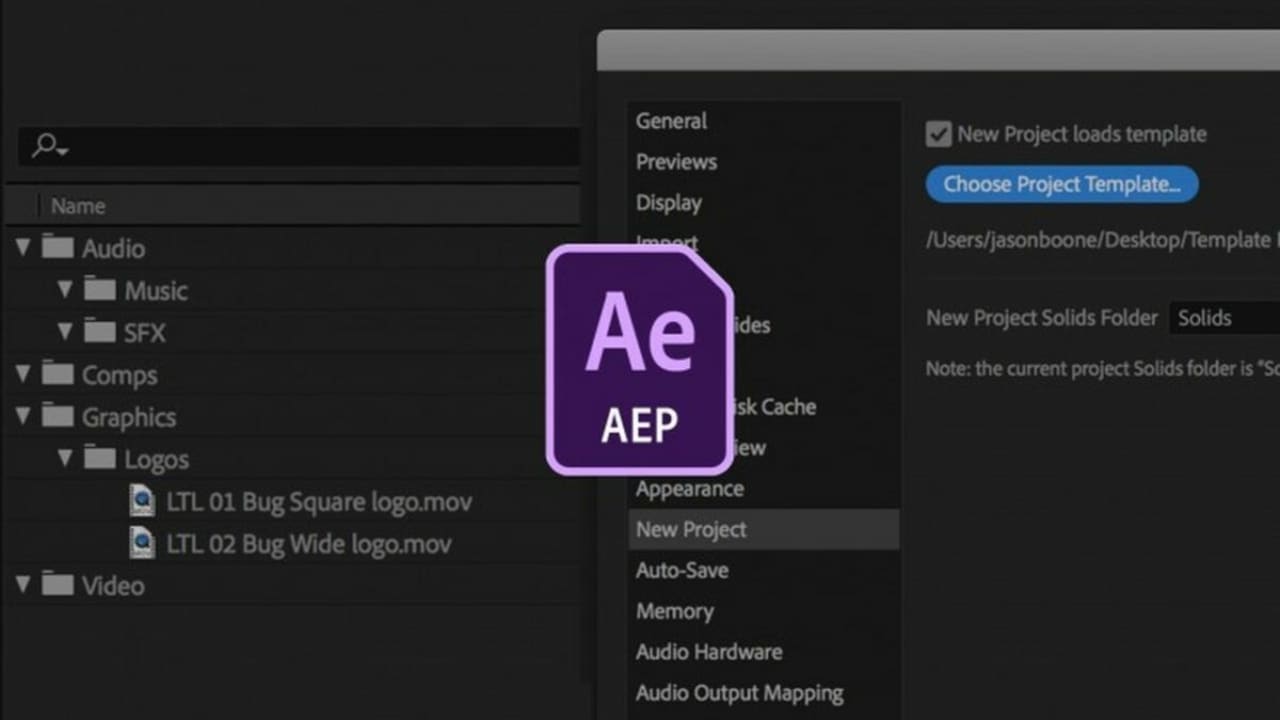
The software will automatically load a default project when you launch. Adobe After Effects comes with thousands of templates that you will use for different projects. The only thing left for you is to select a composition to begin editing your video or animation.
A template is a pre-made After Effects project containing all of the preset settings, compositions, effects, and animations you will need to create your video or animation. Even experienced videographers use templates as starting points; these pre-set projects are ready to go out of the box without any additional tweaking required on your part (unless you want it).
Templates are especially useful when using third-party software like Adobe Premiere Pro or Final Cut Pro X. That’s because these applications do not allow users access to AE CS’s powerful customization options (such as keyframes).
Import Video Footage and Graphics
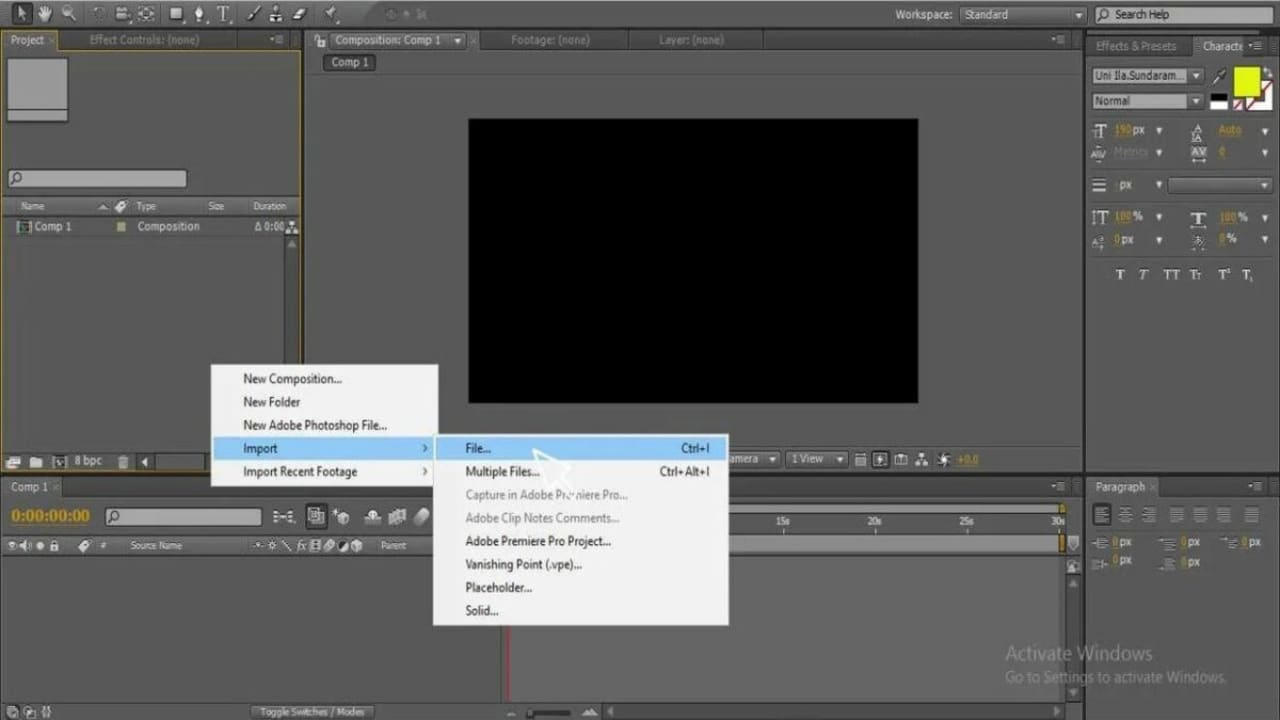
The next step is to import your video footage and graphics into Adobe After Effects. To do this, click on the File menu and select Import > Files. Navigate to the location of your video files and graphic images, select them, and click Open.
You will now import your video footage and graphics into the project you are working on. They will appear in the Project Panel as individual layers. You can then drag them onto the Timeline to begin editing them. If you need to add video or graphic files, you can repeat these steps to import them into your project.
Create a Composition
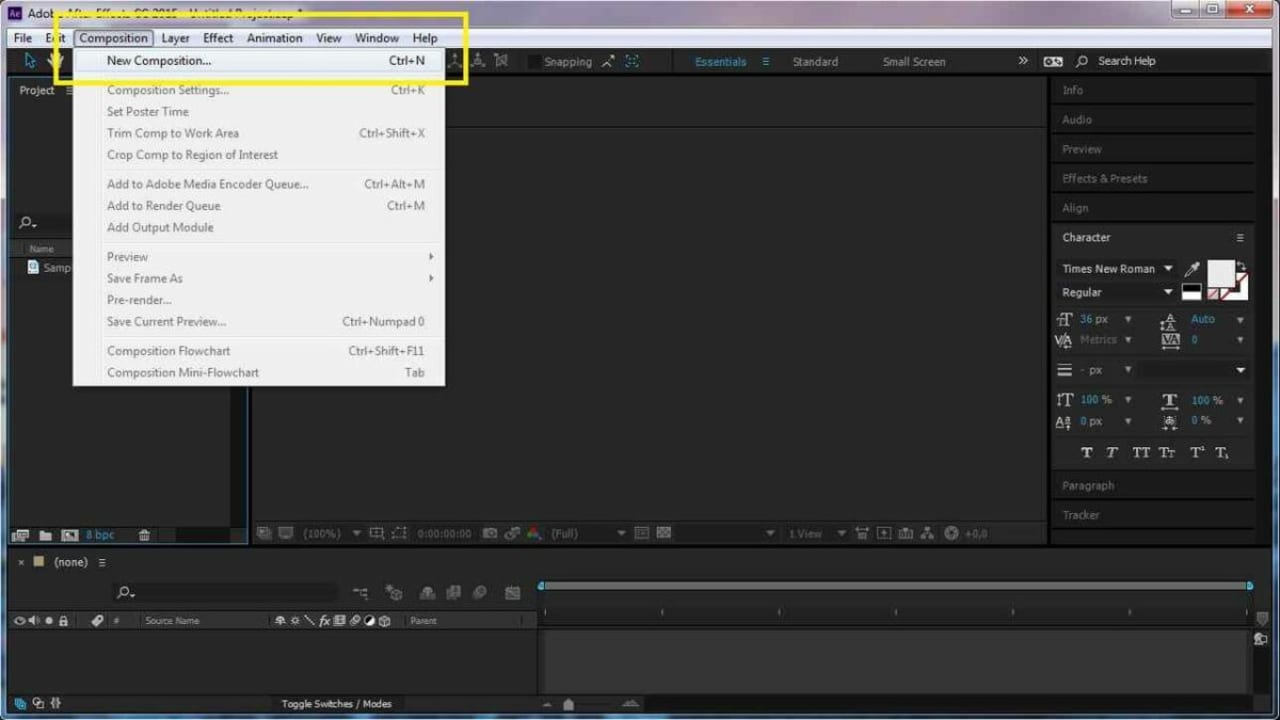
Before you can start editing your video or animation, you need to create a composition. A composition is a container that contains all of the layers and assets that make up an After Effects project.
To create a new composition, go into the Project Panel and right-click on any item in there (or use Ctrl+N / Cmd+N ).
This will open up the New Composition dialog box to change settings such as resolution size widths, height, etc. Once these have been set, click OK.
Add Animation and Effects
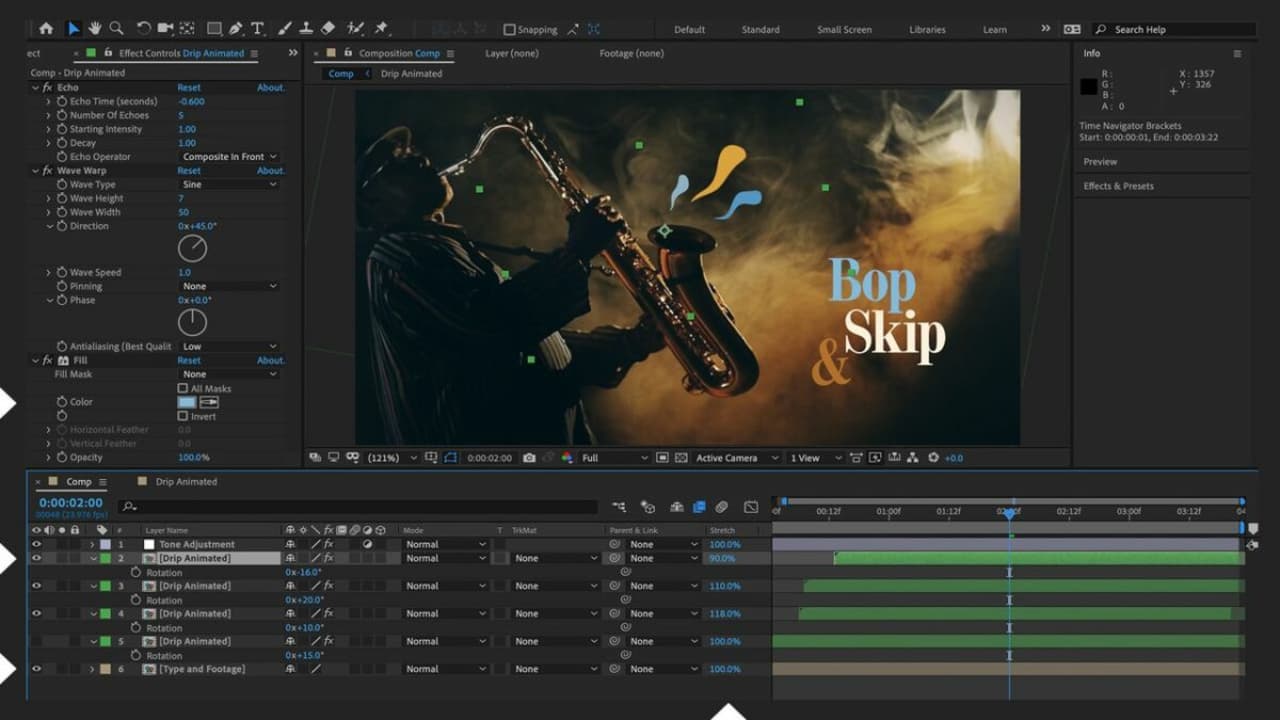
Now it’s time to start adding animation and effects to your composition. You can do this in various ways, but the most common way is by using keyframes. Keyframes are used to control the properties of an effect or animation over time. For example, you can use them to make an object move across the screen or change its color.
Select it from the Effects & Presets Panel and drag it onto the Timeline to add an animation or effect. After Effects will automatically create a keyframe for that property at the current playhead position on the Timeline. You can then edit the keyframe values as needed when you do this.
Render Your Project
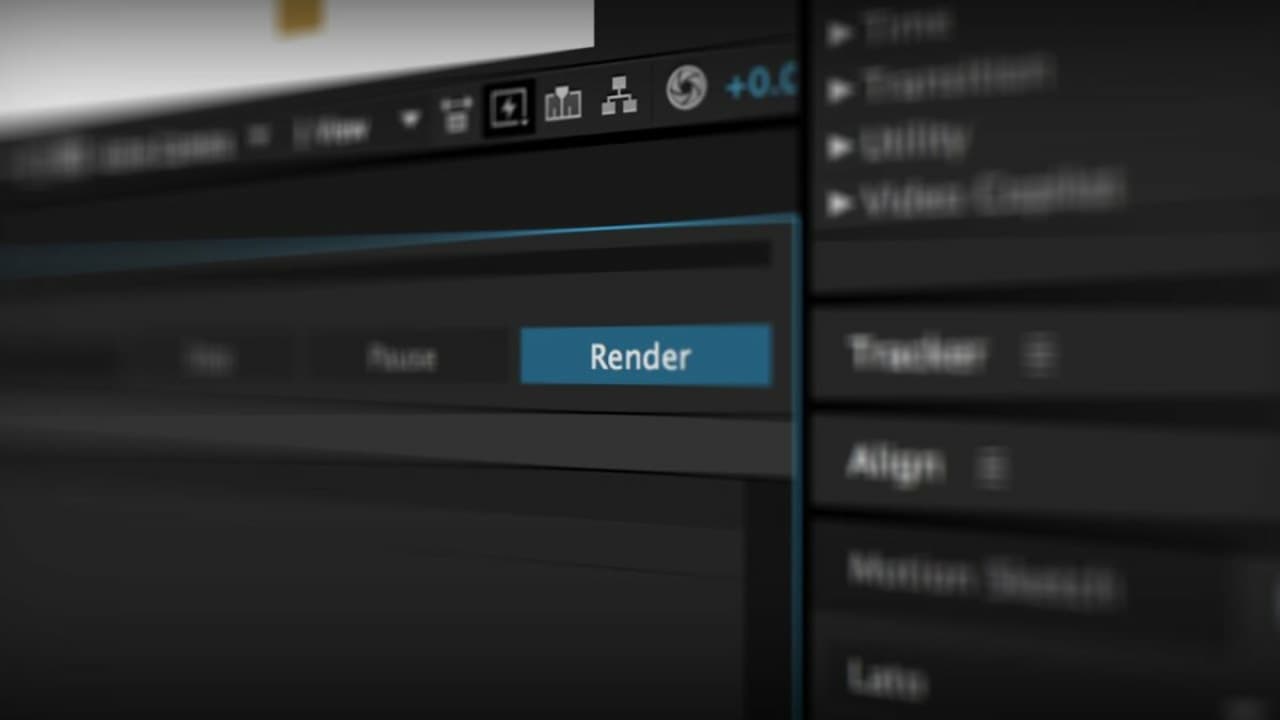
Once you’re done editing your video or animation, it’s time to render the project. To do this, go into the Composition menu and select Add to Render Queue. This will open up the Render Queue window where you can change various settings such as output format (H264, Mpeg-DASH), frame rate (24fps, 30fps), etc. Once these have been set, click OK.
The next step is to adjust any other settings needed before rendering your project file, such as Output Format Settings. But you only need to do this if they aren’t already selected correctly by default when adding items from AE CC’s Effects & Presets Panel. Such examples include codecs for compression methods.
Export Your Project for Distribution

After you’ve rendered your project, it’s time to export it for distribution. To do this, go into the Composition menu and select Add to Render Queue. This will open up the Render Queue window where you can change various settings such as output format (H264, Mpeg-DASH), frame rate (24fps, 30fps), etc. Once these have been set, click OK.
Learn More About Adobe After Effects Features
There are many other features in Adobe After Effects that you can explore to help you create better animations and videos. To learn more about these features, explore the After Effects Tutorials on the Adobe website. While there are many courses and books available, the Adobe tutorials are a great, free way to learn more about the different features of AE CS.
Experiment with the Software and Create New Projects
The best way to learn how to use Adobe After Effects is to experiment with the software and create new projects. Try out different animation and effects, and see what you can create. The more you experiment, the better you’ll become at using the application.
Ask Questions and Get Help from Other Adobe After Effects Users
If you ever run into any problems while using Adobe After Effects, don’t worry. A large community of users is happy to help answer questions and provide support for those who need it.
The best place to ask questions is on the Adobe Support Community. These forums allow people from all over the world to come together and discuss their experiences with the software and share tips and tricks for getting things done efficiently in AE CC.

Conclusion
Adobe After Effects is a powerful program with many capabilities. These ten steps are just the beginning of what you can do with this VFX and motion graphics software. With a bit of practice, you’ll be creating amazing videos in no time.